Weather, sky & geo#
Diorama reaches past your walls: live weather with 3D effects, a living sky, an on-screen compass, and GPS pins that show where people are relative to home.
Building the yard itself — ground, terraces, fences, paths, and pools — is in Yard & terrain; the surrounding streets and the traffic overhead are in Neighborhood & flights.
Weather sources#
Set up weather in the Weather settings. Pick one of three sources:
- HA weather entity — bind any
weather.entity and Diorama reads its condition, temperature, wind, and forecast. - Local sensor station — point Diorama at your own precipitation, wind, temperature, and lightning sensors, and it derives a condition from them.
- Open-Meteo — a free, keyless online forecast. Enter a ZIP code (or lat/lon) and Diorama geocodes it once and polls every 15 minutes.
- Demo (hand-authored) — type the weather in yourself. Nothing is bound and nothing is fetched, so it needs neither a weather entity nor an internet connection. See below.
The panel keeps working offline — the last reading holds and is marked stale after a while.
Hand-authored demo weather#
Pick Demo (hand-authored) as the source and you author the weather instead of reading it. It's for showing the panel off, dialing in a look, and trying the visualizations without waiting for real rain — and because it fetches nothing, it's the one source that fully drives the scene in the live demo and in offline mode.
Everything downstream follows your values exactly as if a real station had reported them: the chip, the 3D precipitation / fog / lightning / wind / cloud shadows, the sky dome, sun, moon and stars, the scene lighting, the solar panels, and the avatars' weather thoughts. The per-effect toggles and the weather layer still apply on top, so you can author a downpour and keep the particles off.
What you can set:
- Condition — any of the fifteen conditions Home Assistant uses (sunny, cloudy, rainy, pouring, snowy, sleet, hail, fog, windy, lightning, thunderstorm, and the rest). This is what picks the precipitation type, the fog, and the storm flashes.
- Temperature and Feels like — in °C or °F, following your imperial/metric setting.
- Humidity, Wind, Wind bearing (the direction the wind blows from), Wind gust, Cloud cover, Visibility, and UV index.
- Rain coming soon and Tomorrow — the storm-brewing sky (a darkened upwind horizon) and the avatars' ☔ / ⛄ anticipation thoughts.
- Moon phase — override tonight's phase, or leave it on (follow moon entity).
- Demo alert — advisory, watch, or warning. It fires a synthetic alert, so the chip grows its ⚠ badge and the 3D beacon pulses, without an alert entity. While demo is the source the bound alert entity is bypassed entirely.
Blank means "not reported", and the effect that reads it simply stays off — a blank cloud cover draws no cloud shadows, a blank visibility leaves the fog to the condition alone.
Placing the sun#
The Sun & moon block takes a sun elevation (−90…90) and a sun azimuth (0…360 compass degrees). Fill in both and that sun takes over from your sun.sun entity everywhere it matters:
- the direction of the sun light in the 3D scene,
- the sun disc on the sky dome,
- the stars (they fade in through twilight as the sun drops),
- the sun-tracking solar panels in both 2D and 3D,
- the automatic clock lighting mode's day / dusk / night choice,
- and the avatars' time of day, which flavors their thought bubbles.
Set the elevation below 0 to make it night — sunny becomes clear-night, the sun disc fades out, the stars come up, the solar panels park flat, and in clock lighting mode the scene lights as night no matter what time it actually is. Leave either field blank and the real sun (or the local clock) is used as before.
There is one thing the demo source deliberately doesn't invent: **forecast strips**. The chip's hourly and daily rows have no fake data to draw, so they stay hidden while demo is selected. Everything you authored is kept, so switching to a real source and back restores it — and switching away puts the real readings, the real sun, and the bound alert entity straight back.
The weather chip#
A small weather chip sits over both the 2D and 3D views, showing the current glyph and temperature plus your place or entity name. It respects your imperial/metric setting, dims when the reading is stale, and hides when no source is set. In edit mode, clicking it jumps to the Weather settings.
In the Weather settings' Chip appearance block you can:
- Reposition it to any of six anchors (the corners plus top-and bottom-center), or nudge it with custom pixel offsets.
- Add content rows — feels-like temperature, humidity, and wind.
- Show forecast strips — a horizontal hourly strip and a vertical daily list (with a hi/lo per day), reading from your source's forecast. Set how many entries each shows.
With any of these on, the compact pill grows into a small panel.
Weather alerts#
Diorama can surface government/agency weather warnings (tornado warning, flood watch, heat advisory, and the like) — distinct from the everyday condition. In the Weather settings' Alerts block, pick a Home Assistant alert entity (Diorama understands the common NWS, Environment Canada, DWD, and MeteoAlarm shapes and sorts them into advisory / watch / warning).
- The weather chip grows a severity-tinted ⚠ badge; clicking it opens a panel listing each alert with its event, headline, and expiry.
- A subtle 3D beacon — a low colored light that gently pulses over the floor (faster and brighter for a warning, slower for an advisory) — washes the scene when an alert is active. Toggle it with the beacon checkbox.
3D weather effects#
When effects are on, current conditions play out in the 3D scene:
- Precipitation — rain, snow, hail, and mixes fall across the floor, drifting with the wind.
- Fog — thickens the air and rolls translucent ground layers, scaled to real visibility.
- Lightning — flashes the scene during storms (no audio).
- Wind — drives the precipitation drift, with gust bursts, and can raise drifting dust on windy-but-dry days.
- Clouds — cloud-shadow patches drift across the ground, scaled to cloud cover.
- Sun position — the sun light follows your
sun.sunentity's real azimuth and elevation. - Frost — icicles and a rim appear when it's cold enough.
- Puddles — rain leaves puddles that linger for several minutes after it stops.
You can toggle each effect individually under the 3D effects controls, and there is a master effects switch. Overcast, rainy, foggy, and stormy weather also gently dims a daytime scene toward dusk (you can turn that off).
Sky backdrop#
Turn on the Sky backdrop (Display settings — on by default when a weather source is set) to replace the flat background with a living sky:
- A gradient sky dome colored by the time of day, condition, and cloud cover, darkening its upwind horizon when a storm is brewing.
- A sun disc that follows your
sun.sunentity's real position, and a night starfield. - A moon with correct phases — bind a moon-phase
sensor.(from Home Assistant's core Moon integration) in the Weather settings and the drawn moon matches tonight's phase; unbound, it shows a full moon.
Under the moon binding there's a Space station checkbox. Tick it and the moon is drawn as a battle station instead — hull plating, an equatorial trench, and a dish in the upper hemisphere — while still waxing and waning through tonight's real phase. It's off by default, and it is exactly as serious as it sounds.
Once Diorama knows your location, the night sky becomes astronomically correct — real stars, constellations, planets, and the moon's true position. See The night sky.
Background text#
For a playful touch, write a short message into the world itself with Settings ▸ Display ▸ Background text. Add up to six entries; for each one, pick a mode and either type a static message or bind an entity to display its live value:
- Skywriting (sky) — glowing cloud letters drifting high in the sky with the wind.
- Banner plane — an aircraft towing a readable banner on a slow orbit.
- Ground writing — lettering laid across the ground itself.
- Message train — a toy train circling the property, the message split across its cars. It reads left-to-right from either side, and grows more cars for a longer message (set the maximum).
Per-entry options:
- Entity value — bind any entity and the writing shows its live state, with prefix, suffix, and unit formatting of your choice.
- Aircraft (banner mode) — choose what tows the banner. Beyond the classic toy plane there are airliner and light-aircraft silhouettes, a military and NASA group, a group of fictional craft, the news helicopter (which used to be a mode of its own), and — from the vehicle model packs — warbirds, airliners, and rockets that fly upright. Anything you pick keeps its own paint.
- Colors (banner and train) — five swatches: the vehicle and accent colors, and the banner's background, text, and frame. Each starts on the craft's own livery and has a ✕ to put it back. See Vehicles & aircraft for what each one paints.
- Model size × (0.5–5) — scale just the model or lettering. The flight path, train loop, and orbit stay where they are; this only makes the thing bigger for a zoomed-out camera.
Ground writing#
Ground writing lands on the widest open patch of yard by default. Point it at a ground area with Fit to area and the text is clipped to that area's **real shape** — not a rectangle over it — and painted through the area's own surface, so each covering gets its own ink: mowed green in grass, etched pale in concrete, a trace in sand or water.
It normally follows the camera, staying turned toward you like a page lying on the floor. Uncheck Follow camera and set a Rotation (°) to pin it instead — 0° puts the top of the text toward the top of your 2D plan, and increasing values turn it clockwise.
Skywriting and anything towing a banner hide during heavy storms (they'd read wrong in a downpour); ground writing and the train stay. The whole family rides the Background text layer, so a kiosk view can drop the lot.
Geo landmarks & calibration#
To place GPS positions on your plan, Diorama needs to know how your plan lines up with the real world. You teach it by calibrating landmarks in the GPS / Geo section (edit mode).
- Add a landmark and click on the plan to drop it at a known spot (a corner of the house, a mailbox).
- Calibrate it either by GPS sampling — pick a
device_tracker, press Start, and physically stand at the landmark while Diorama collects fixes (it asks the companion app for high-accuracy updates) — or by manual entry of alat, lonpair.
Landmarks are shared across all floors, not per floor.
- With one calibrated landmark, set the north direction (compass bearing of the plan's up direction) so orientation is known.
- With two or more, Diorama fits both position and rotation automatically and shows a fit quality readout (RMS error and a warning if a landmark looks off).
A calibrated landmark shows its stored coordinates under its row, and distances throughout the geo features follow your imperial/metric setting.
When the alignment looks wrong#
One badly sampled landmark can rotate everything — north points 25° off and every GPS pin lands in the wrong place. Each landmark row helps you find and fix it:
- "off by N m" — how far that landmark's real-world position lands from where it sits on your plan. The worst offender is flagged in red with a ⚠, which is usually all you need to spot the culprit.
- Use in alignment — uncheck it to keep the pin and its coordinates but drop it from the calculation. Everything re-fits without it immediately; the pin stays visible, dashed and dimmed, captioned "excluded from alignment". This is the escape hatch when one bad sample is dragging the whole plan around.
- 🎯 Suggested position — draws a ghost pin where that landmark's coordinates say it should sit on your plan, with a dashed line and the distance. Apply moves it there in one undo step.
The repair for a mis-sampled pin is usually: exclude it, look at the suggestion, apply it, then switch it back on.
Importing landmarks from a CSV#
If you already have coordinates — from a survey, a mapping app, or a GPS handheld — use ⤓ Import CSV in the GPS / Geo section. The file needs three columns, label, latitude, longitude, with a header row in any order or no header at all. Rows that don't parse are reported individually and the rest still import.
Where the imported landmarks land depends on what Diorama already knows:
- With a working fit, each row is projected onto its correct spot on the plan straight away.
- Without one (your first import), rows arrive as unplaced pins — they carry real coordinates but no position yet, are marked "not placed — imported from CSV" in amber, and are deliberately left out of the calibration until you place them. Click a pin's 📍 button and then click the plan to drop it; it joins the fit at that moment. This keeps a bulk import from poisoning the transform with guessed positions.
Rows are matched to existing landmarks by label, so re-importing a corrected file updates rather than duplicates.
Recorded position pins#
The reverse of a landmark: instead of telling Diorama where a plan point is in the world, you walk the world and record points. It's the fastest way to capture a property boundary, a fence line, or the edge of a patio.
In the GPS / Geo section's Recorded positions (boundary) block:
- Pick the tracker to record from (it remembers your choice).
- Stand at the first corner and press the record button. Diorama stores the raw coordinates and shows the fix accuracy. A poor fix is recorded with a warning rather than refused — it never blocks you mid-walk.
- Walk the boundary, recording a pin at each corner. You can also add one by typing a
lat, lonpair.
Pins draw as numbered amber diamonds joined by a dashed chain, with each segment's length labeled and a running total in the sidebar. Reorder them with ↑ / ↓ (the order is the boundary), and close the chain to join the last pin back to the first.
Convert to a ground area turns the chain into a real ground covering of the kind you choose — your actual lot line, at its exact recorded coordinates, ready to paint as grass. The pins are kept, so you can walk more of the boundary and convert again.
Because pins store coordinates rather than plan positions, re-calibrating your landmarks later retroactively corrects every recorded pin.
The on-screen compass#
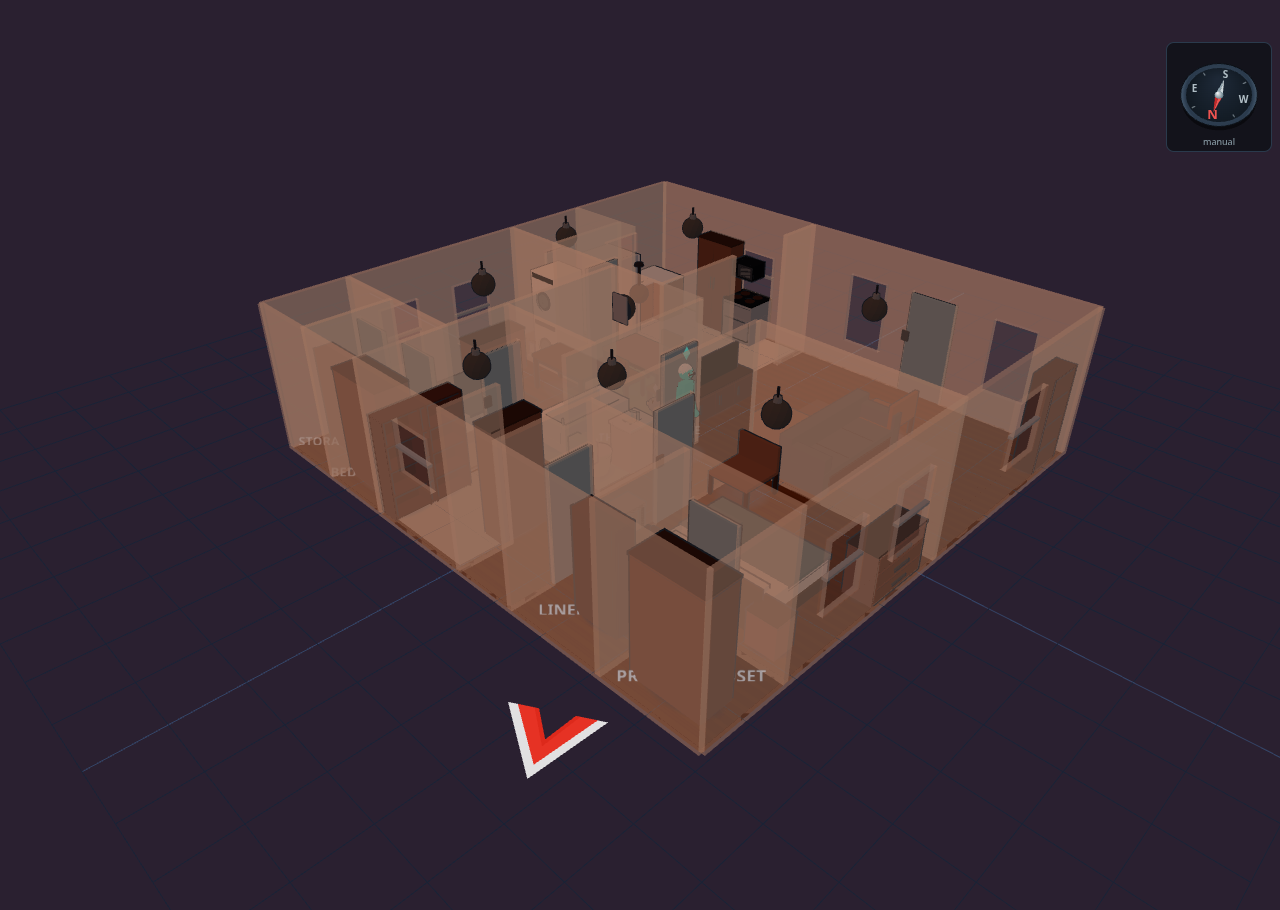
Turn on Settings ▸ Display ▸ Compass for a small pseudo-3D compass rose that sits over both the 2D and 3D views and turns as you orbit, in every mode.
- North source — auto (the default) uses your landmark calibration when there is one, and falls back to a manual bearing; manual always uses the bearing you type. The manual field is the compass bearing that the plan's up direction faces, and the block shows a live line telling you which source is currently in effect.
- Anchor — place the rose at any of six positions with the anchor grid, or give it custom pixel offsets. (It defaults to the top-right so it doesn't collide with the weather chip.)
- Show north icon on plan — adds a red-and-white arrow just outside the floor edge, in both 2D and 3D, pointing where true north leaves your plan. North icon size scales it from 0.5× to 4×.
In edit mode, clicking the rose jumps straight to these settings.
Rotating your plan (Floors ▸ Rotate plan) rotates the north reference with it, so the compass keeps telling the truth.
GPS device pins#
Once at least one landmark is calibrated, bind a person to an HA person or device_tracker to pin them on the plan. Each pin is classified against the current floor:
- Indoor — the fix lands inside the house. GPS is tens of meters off indoors, so the pin is drawn dimmed as a rough "find my phone" hint.
- Yard — within the boundary around the house (default 30 m). Drawn at its true position with an accuracy ring.
- Beyond — outside the boundary. Clamped to the boundary edge along the true bearing, labeled with the distance and compass direction (for example, "Name · 320 m NE").
Pins show the person's color and initials, dim when stale, and render in kiosk and view modes too. In 3D they appear as floating labels; landmarks show as 📍 pins near the ground.
Geo event pins#
If you have geo_location entities (like severe-weather or nearby-quake feeds), Diorama can plot them as warning diamonds around your home once geo is calibrated, labeled with magnitude, distance, and direction. Toggle them with the "Show events" option in the GPS / Geo section.
Building the yard itself#
Ground coverings, terraces, fences and gates, paths and driveways, pools and spas, sprinklers, flagpoles, and the outdoor furniture catalog all have their own page: Yard & terrain.
To draw the neighbors' buildings and streets around your plan — which needs the landmark calibration above — see Neighborhood & flights.